A smear mount is a fundamental technique in microscopy where a sample is spread thinly across a glass slide to allow light to pass through individual cells. Unlike wet mounts, which keep cells suspended in liquid for observing motility, or dry mounts used for inanimate objects, smear mounts are specifically designed to be stained and permanently fixed.
In hematology and microbiology, the goal is to create a monolayer-a single layer of cells without overlap. This is critical because overlapping cells obscure internal structures, making accurate diagnosis impossible. While the principles of spreading are similar, the specific techniques for blood smears and bacterial smears differ significantly in their execution and physical requirements.
What Is a Smear Mount?
A smear mount is a preparation where a specimen is mechanically spread into a thin film on a glass slide, air-dried, and then fixed (preserved) before staining.
- Thinness is critical: Light must pass through the cytoplasm to reveal nuclear detail and granule color. Thick areas cause light refraction and cell shrinkage, rendering the sample unreadable.
- Difference from wet/dry mounts: A smear is a permanent preparation. The cells are killed and fixed to the glass, unlike a wet mount where cells remain alive and mobile in fluid.
Blood Smear vs Bacterial Smear
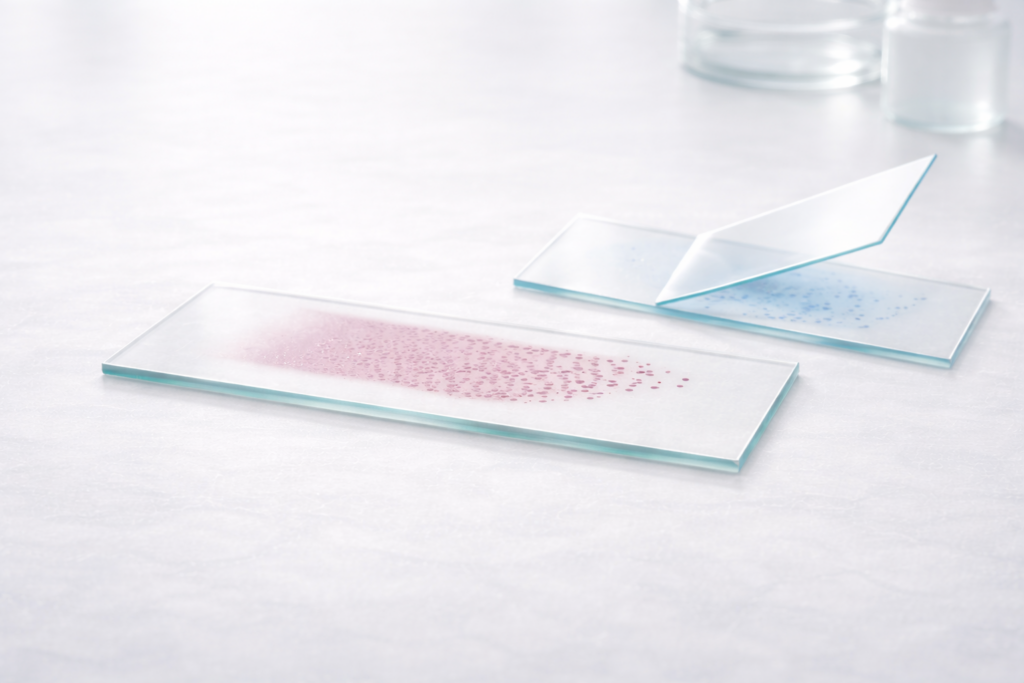
While both methods spread a sample, they serve different diagnostic goals. A blood smear requires a precise “feathered edge” for cell counting, whereas a bacterial smear focuses on adhesion and isolation.
| Feature | Blood Smear | Bacterial Smear |
|---|---|---|
| Purpose | To count and identify blood cell morphology (RBCs, WBCs, platelets). | To determine bacterial shape (morphology) and cell wall type (Gram reaction). |
| Key Physical Trait | Gradient: Must have a thick body transitioning to a thin monolayer (feathered edge). | Uniformity: Needs a faint, even haze. No feathered edge required. |
| Sample State | Liquid whole blood (viscous, high protein). | Colony resuspended in water or liquid broth (low viscosity). |
| Fixation Logic | Chemical Fixation: Usually methanol (often in the stain itself) to prevent water artifacts and preserve delicate cytoplasm. | Heat Fixation: Passing slide through flame to “melt” surface sugars, adhering bacteria to glass so they don’t wash off. |
| Staining | Romanowsky stains (Wright-Giemsa). | Gram stain, Acid-fast stain, or Simple stain. |
Materials and Setup
Efficiency and cleanliness are paramount. Even microscopic dust can ruin a thin film.
- Microscope Slides: Must be high-quality glass, free of grease and dust. Pre-cleaned slides are recommended.
- Spreader Slide: A second slide with a perfectly smooth, unchipped edge.
- Sample:
- Blood: Fresh whole blood (no anticoagulant) or EDTA-anticoagulated blood (purple top) within 2-3 hours of collection.
- Bacteria: 24-hour culture plate or broth.
- PPE: Gloves and lab coat (biohazard safety).
- Absorbent Material: Paper towels or bench mat.
Step-by-Step Blood Smear Preparation
The “wedge method” is the gold standard for manual blood smears. It relies on fluid dynamics: the angle of the spreader and the speed of the push determine the film’s thickness.
1. Slide Preparation
Place a clean slide on a flat, stable surface. If using a frosted slide, orient the frosted end to the left (if right-handed).
2. Drop Placement
Dispense a small drop of blood (approx. 3–4 mm diameter) onto the midline of the slide, about 1 cm from the frosted end.
- Note: A drop that is too large will create a smear that is too long and thick.
3. Positioning the Spreader
Hold the spreader slide between your thumb and forefinger. Place the spreader slide onto the specimen slide at a 30–45° angle, just in front of the blood drop.
4. The “Pull-Back”
Draw the spreader slide backward gently until it touches the front edge of the blood drop.
- Observation: The blood will naturally spread laterally along the edge of the spreader slide by capillary action.
- Critical: Wait 1–2 seconds for the blood to reach almost the edges of the spreader, but do not let it flow over the sides.
5. The Push (Smearing)
Immediately push the spreader slide forward in a single, smooth, rapid motion.
- Physics of the smear: Maintain the 30–45° angle and light, even pressure. Do not lift the spreader until you are off the end of the slide.
- Speed: A faster push creates a shorter, thinner smear. A slower push creates a longer, thicker smear.
6. Drying
Wave the slide in the air rapidly to dry it within seconds.
- Why? Slow drying allows plasma to become hypertonic, causing RBCs to shrink and distort (crenation).
What a Good Blood Smear Looks Like
A high-quality smear is essential for accurate diagnostics. Technicians reject blood smears that do not meet these criteria:
- Shape: Bullet-shaped or tongue-shaped with smooth, continuous margins.
- Length: Covers approximately two-thirds to three-quarters of the slide length.
- The Monolayer: There is a distinct “zone of morphology” where RBCs barely touch but do not overlap. This is where microscopy is performed.
- Feathered Edge: The smear ends in a fine, feathery gradient. When held to the light, this edge should show a “rainbow” interference pattern, indicating the cells are in a single layer.
- Texture: Smooth and uniform, with no holes, streaks, or ridges.
Common Errors and How to Fix Them
Troubleshooting relies on adjusting your mechanics. The two main variables you control are angle and speed.
| Error (Visual Symptom) | Physical Cause | Correction |
|---|---|---|
| Smear is too thick or short | Angle too steep (>45°) or drop too large. | Lower the angle to 30°. Use a smaller drop of blood. |
| Smear is too thin or long | Angle too low (<30°) or push was too slow. | Increase angle to 45°. Push the spreader slide faster. |
| Ridges or “Washboard” effect | Hesitation during the push or uneven pressure. | Use a fluid, committed motion. Do not stop or change speed mid-smear. |
| Holes in the smear | Grease or dirt on the slide. Lipids in sample. | Use pre-cleaned slides. Wipe slides with alcohol before use if necessary. |
| Streaks or “Tails” | Chipped spreader slide or dried blood on edge. | Use a new spreader slide for every smear. Ensure the edge is perfect. |
| Crenated RBCs (spiky cells) | Slow drying time (humidity or technique). | Wave slide vigorously immediately after smearing. Do not blow on it (moisture artifact). |
Brief Note on Staining and Fixation
Once dried, blood smears must be fixed to preserve cell morphology.
- Fixation: prevents water in the stain from rupturing the cells. In Romanowsky stains (like Wright’s stain), the fixative is usually 100% methanol.
- Staining: The dyes (methylene blue and eosin) rely on pH to color cellular components. Acidic components (like DNA) stain blue, while basic components (like hemoglobin) stain pink/red.
Bacterial Smear (Contextual)
Preparing a bacterial smear is simpler physically but requires careful safety steps.
- Drop: Place a small drop of water on the slide (if taking from a solid colony).
- Emulsify: Mix a tiny amount of bacteria into the water until it looks like faint skim milk.
- Spread: Spread the mixture into a circle (size of a dime). No feathered edge is needed.
- Dry & Fix: Air dry completely, then heat fix by passing the slide through a flame 2-3 times. This adheres the protein coat to the glass so the bacteria don’t wash off during Gram staining.
FAQ / People Also Ask
1) What is a smear slide?
A smear slide is a glass microscope slide prepared by spreading a sample (like blood or bacteria) into a thin, even film. This separates individual cells so they can be stained and examined for shape, size, and internal structure.
2) What is the most common type of sample you prepare for a smear?
The most common sample is venous blood collected in an EDTA (purple top) tube. This is used to create blood smears for Complete Blood Counts (CBC) and differentials.
3) What is the best angle for spreading a blood smear?
The ideal angle is 30–45 degrees. Raising the angle (closer to 90°) makes the smear thicker and shorter; lowering the angle (closer to flat) makes it thinner and longer.
4) Why do blood smears come out too thick or uneven?
Thickness usually results from a drop that is too large or a spreader angle that is too steep. Unevenness (ridges) is caused by hesitating during the push or using a spreader slide with a chipped edge.
5) How is a smear mount different from a wet mount?
A wet mount keeps cells alive in liquid to observe movement (motility) and is temporary. A smear mount kills and fixes the cells to the slide, allowing for permanent staining and detailed structural analysis.
Conclusion
Mastering the smear mount is a manual skill that requires practice. The quality of your microscopy data is directly limited by the quality of your preparation. If blood smears are too thick, cells bunch together and cannot be identified; if they are too rough, cells may be distorted or broken. By understanding the physics of the spreader angle and maintaining strict cleanliness, you can consistently produce diagnostic-quality thin films.